How to Add People and Trees in Photoshop
![]()
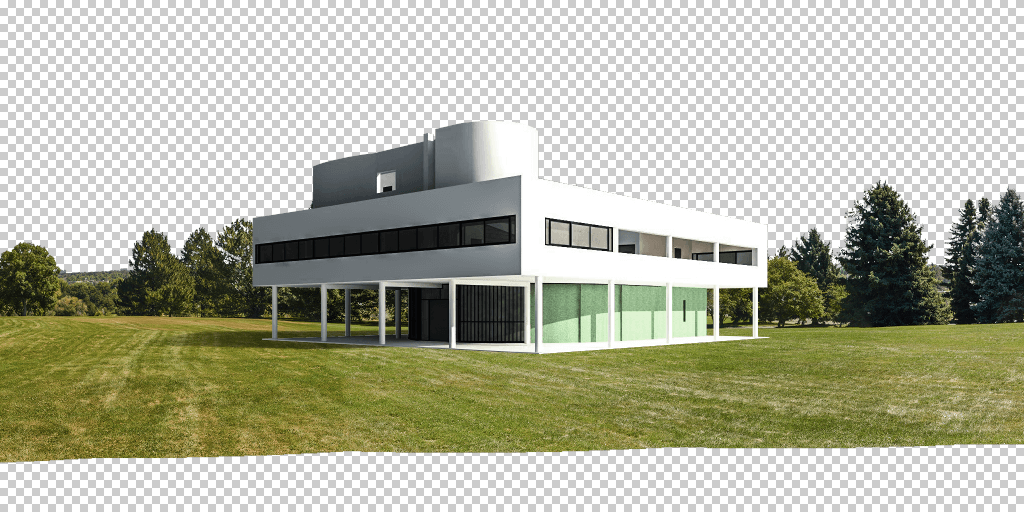
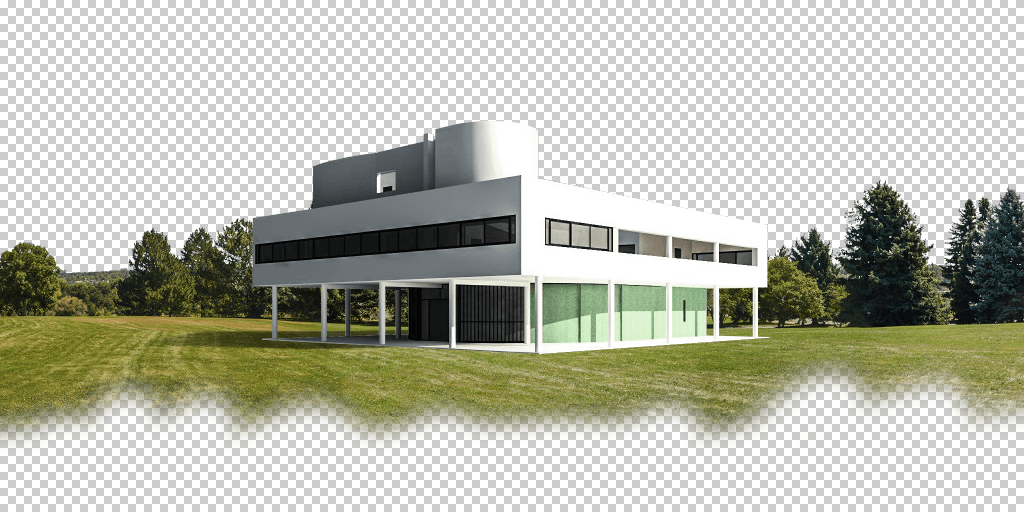
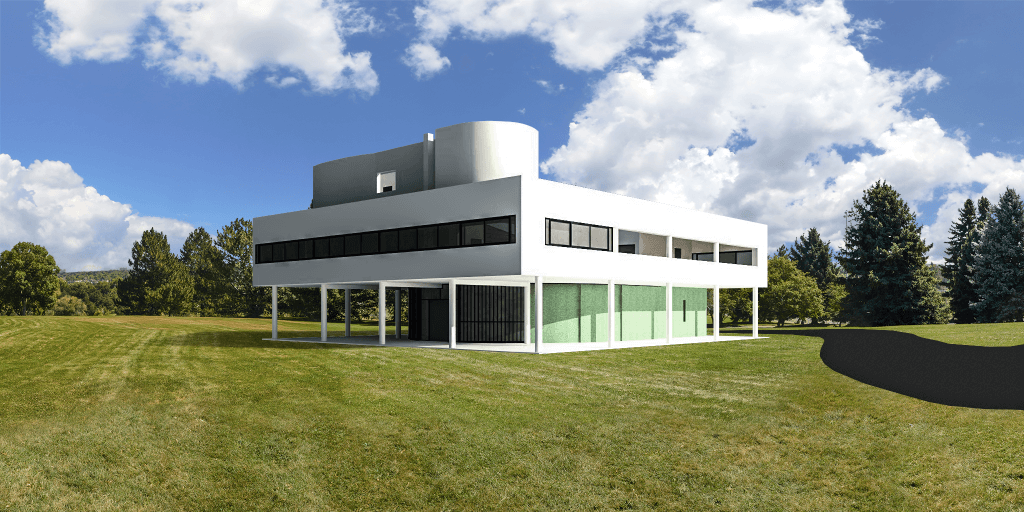
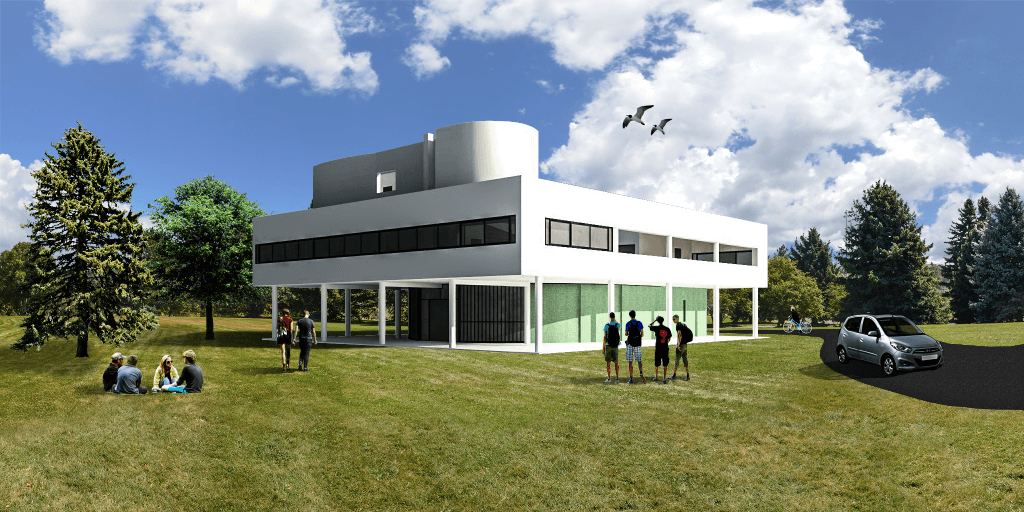
Follow along with this tutorial to create an architectural visualization like the one shown here. If you don’t have your own building to use, start with the example building. You will need an install of Adobe Photoshop CC.
Scroll down to get all the textures and cutouts we refer to in this tutorial, although you can substitute from your own collection.
Step 1: Create a new document
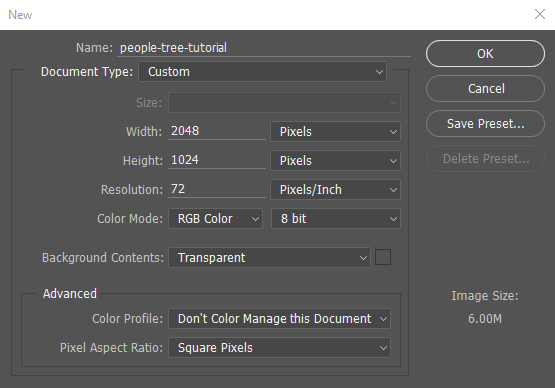
Fire up Photoshop and create a new document with dimensions 2048 x 1048 pixels.
Step 2: Place the building
Drag-and-drop the building from your downloads folder onto the canvas. By default, images dropped in directly will be linked, not embedded, images.
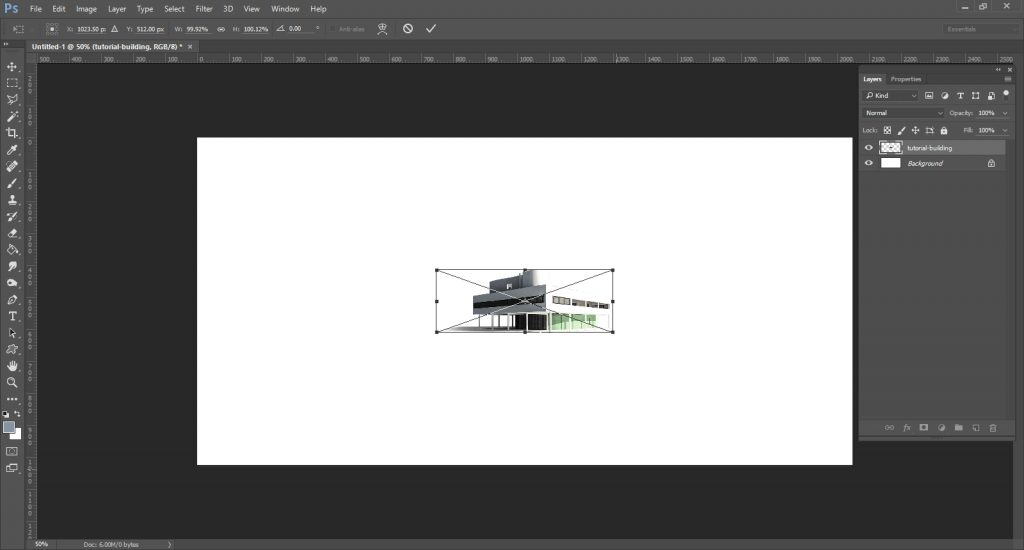
Step 3: Re-size the layer
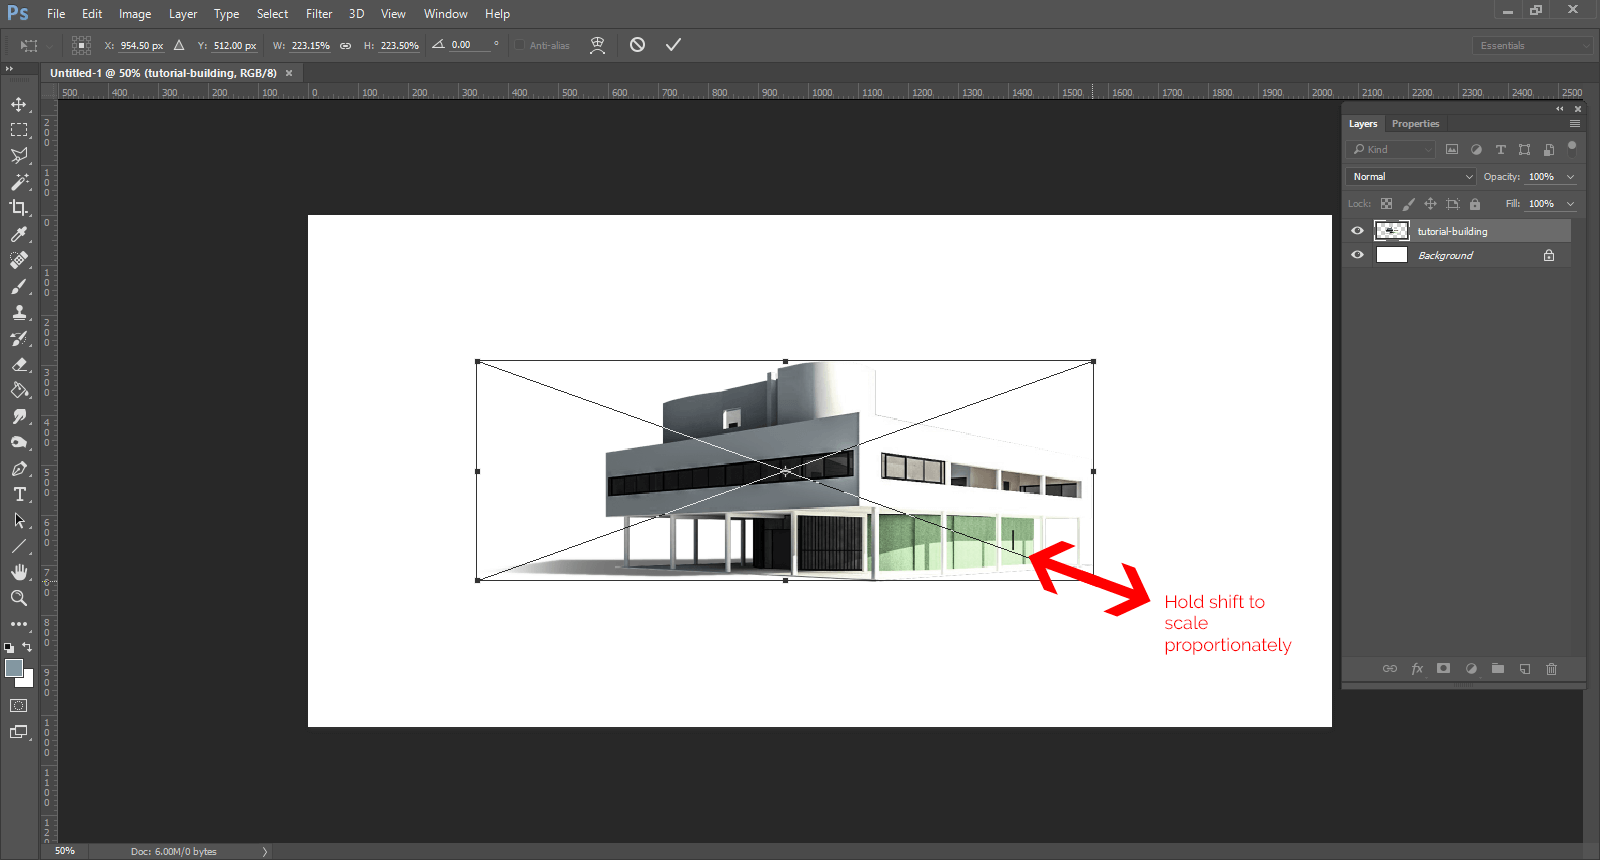
Using one of the corner handles on our image, stretch the building to an appropriate size.

Go to the Layers panel and find the image. Right-click on it and select “Rasterize Layer”. We can now edit the image directly. Linked files are useful for larger projects, or non-destructive editing. For this project it will be faster to embed the files and edit the bitmap directly.
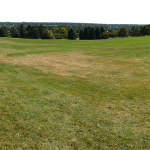
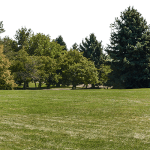
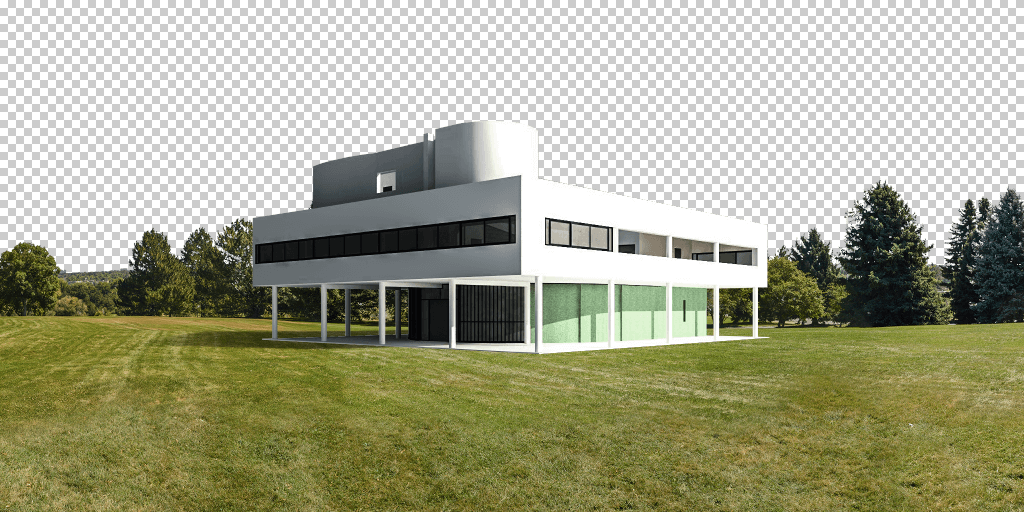
Step 5: Add a grass and tree background
Drag and drop the grass and tree background. Drag this layer below the building. Get the size right using Step 3 above. The horizon should be about in the middle of the canvas. Looks like we need some more grass!
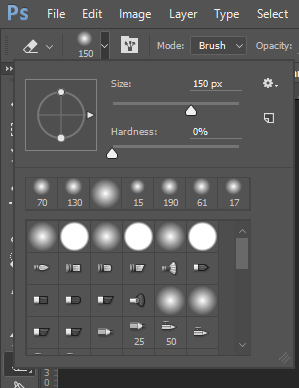
Select the eraser tool-the settings above seem to work well.
Erase a fringe area on the bottom of the “park-panorama” layer.
Drag the “valley-panorama” PNG file on the canvas and move it to the bottom layer.
Step 4: Add a cloudy sky
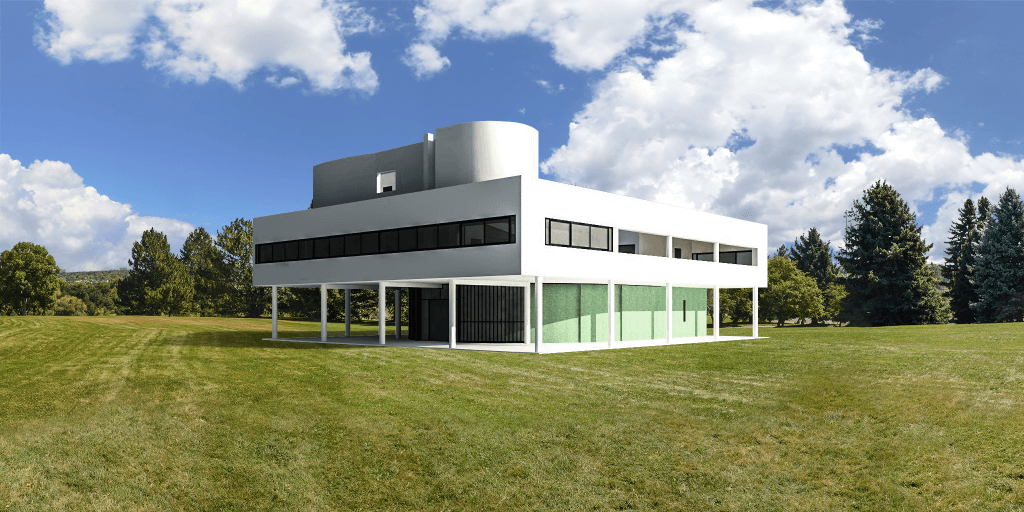
You guessed it.
Step 5: Add a road
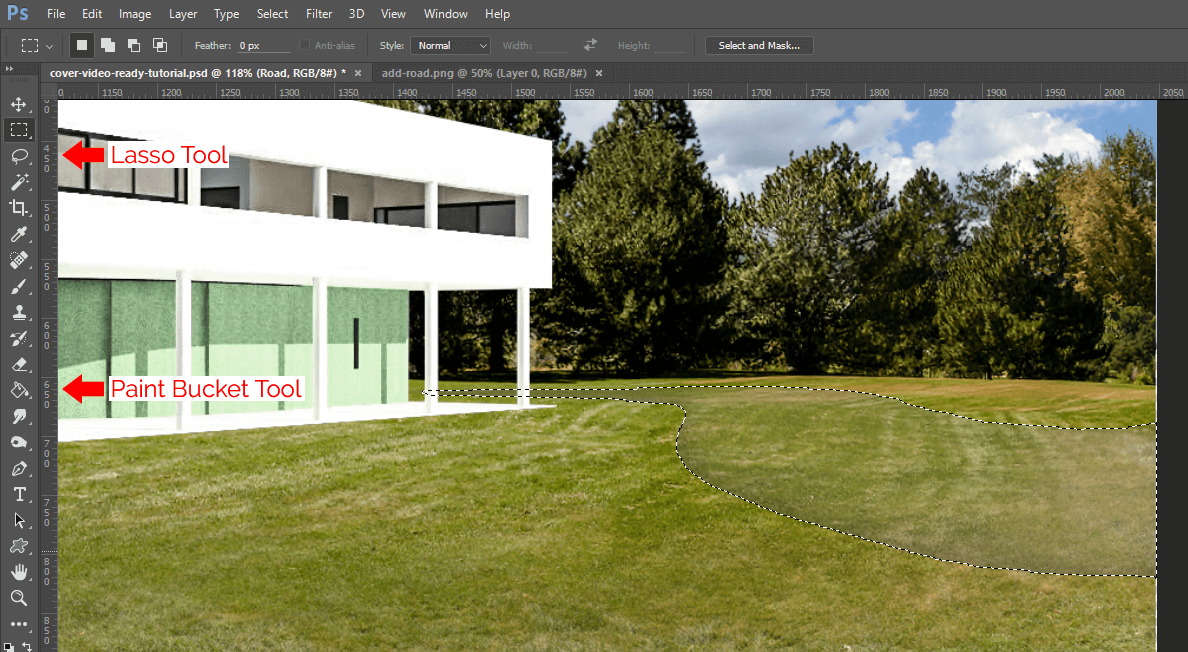
Create a new layer. Using the lasso tool, make something like the shape shown above. It doesn’t have to be perfect; this is not a precise image.
Use the fill-bucket to color the shape a dark gray color. Double click on the layer in the Layer panel. This will bring up Layer Effects. Add an inner shadow; alter the shadow direction as shown; this will create the illusion that the pavement is sunk into the grass slightly.
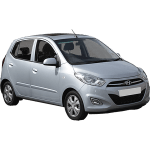
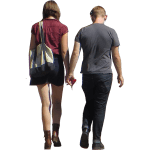
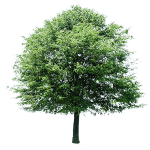
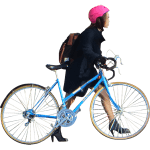
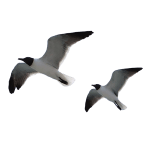
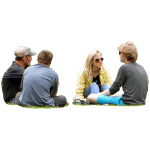
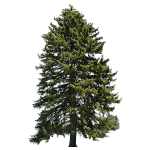
Step 6: Add the people, trees, and other entourage
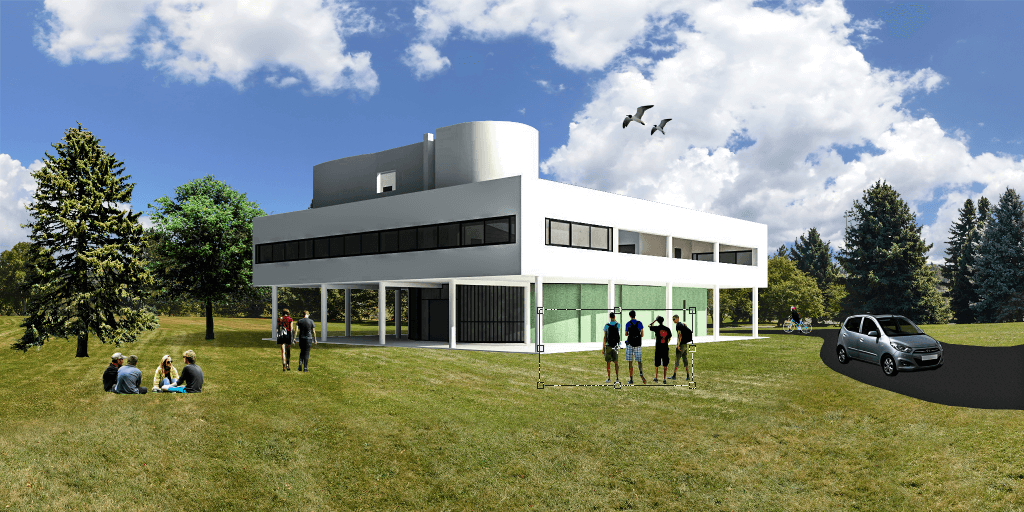
Drag-and-drop the people, trees, car, and birds. Again scale them appropriately per Step 3. This is not a lesson in perspective, your eye is better than you think at approximating what sizes things should be. Note that our image is from a standing height perspective, so all standing people’s heads will be at about the horizon line, no matter where they are standing. Exception: short people.
Step 7: Shadows
This can be time consuming, but we will use a method that approximates a hard shadow cast by the sun. The desired effect is that our figures are firmly planted on the ground and not floating in space. If you are short on time and have to skip a step, make it this one.
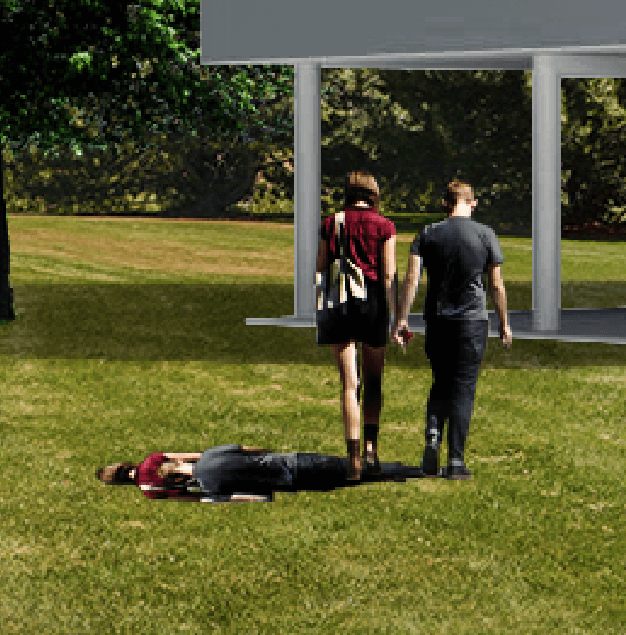
To start, copy and paste the figure you need a shadow of. Rotate it in the direction of the shadow and move the layer beneath the original layer.
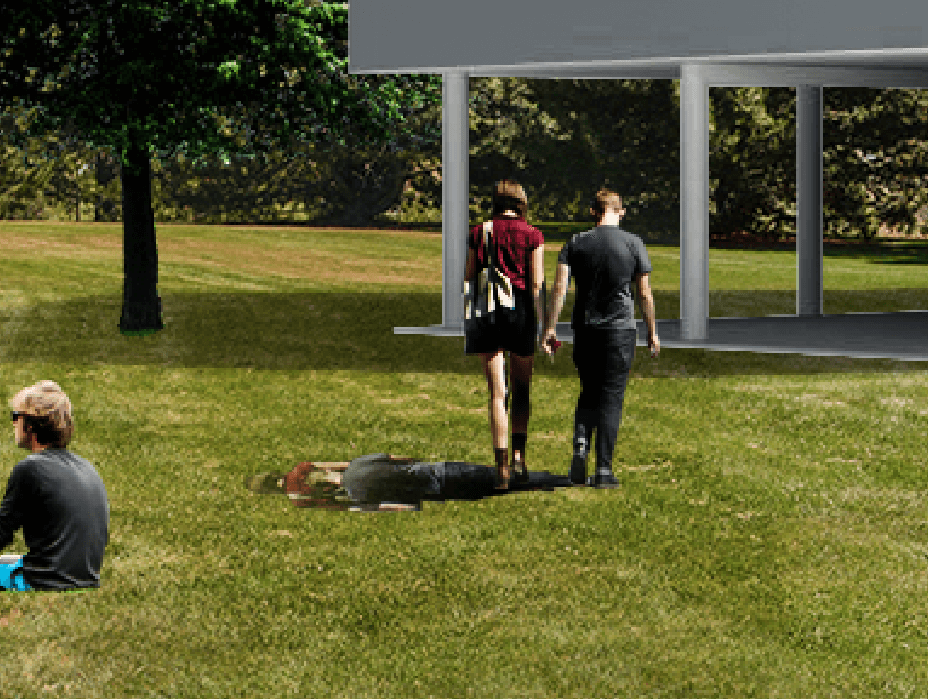
Use the eraser tool set to a large size with opacity at 50%. Erase the part of the shadow furthest from the subject.

Double-click on the layer and apply a black color overlay.
Repeat for every subject.
Step 8: Take a deep breath
There is no step eight.
Step 9: Adjustment layers
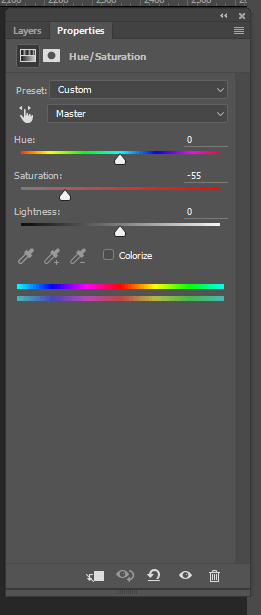
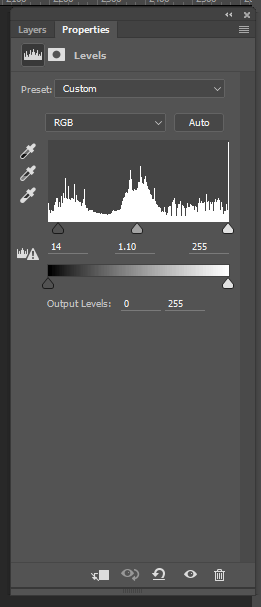
Go to Layer> Add Adjustment Layer>Hue/Saturation Layer; use the settings above. Also add a Levels layer with the settings above. These should be the top layer in your project.
Step 10: Add some sun rays
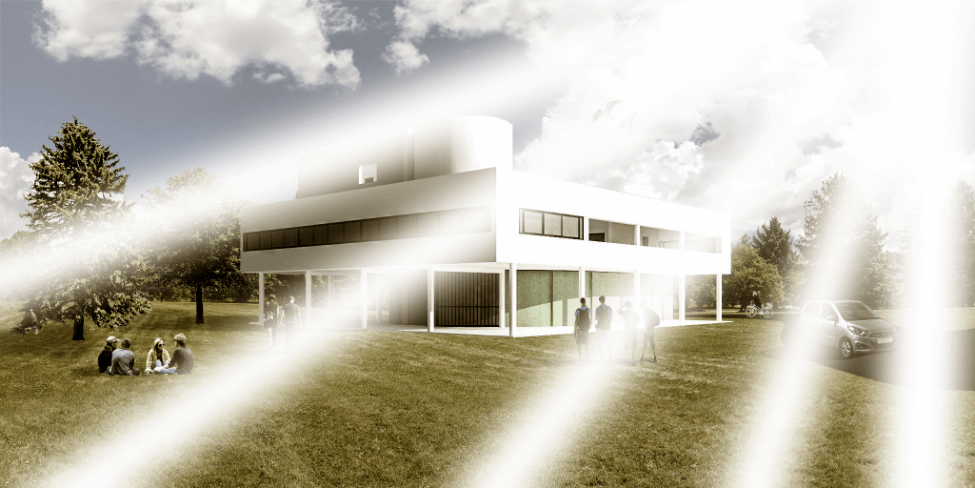
Add a new layer. Select the paint brush set to 60-80 pixels wide and click once at the source of the sun. Hold shift. Click once at the end of the ray (off camera). Repeat. Apply a soft Gaussian blur filter (Filter>Blur>Gaussian Blur) as desired.
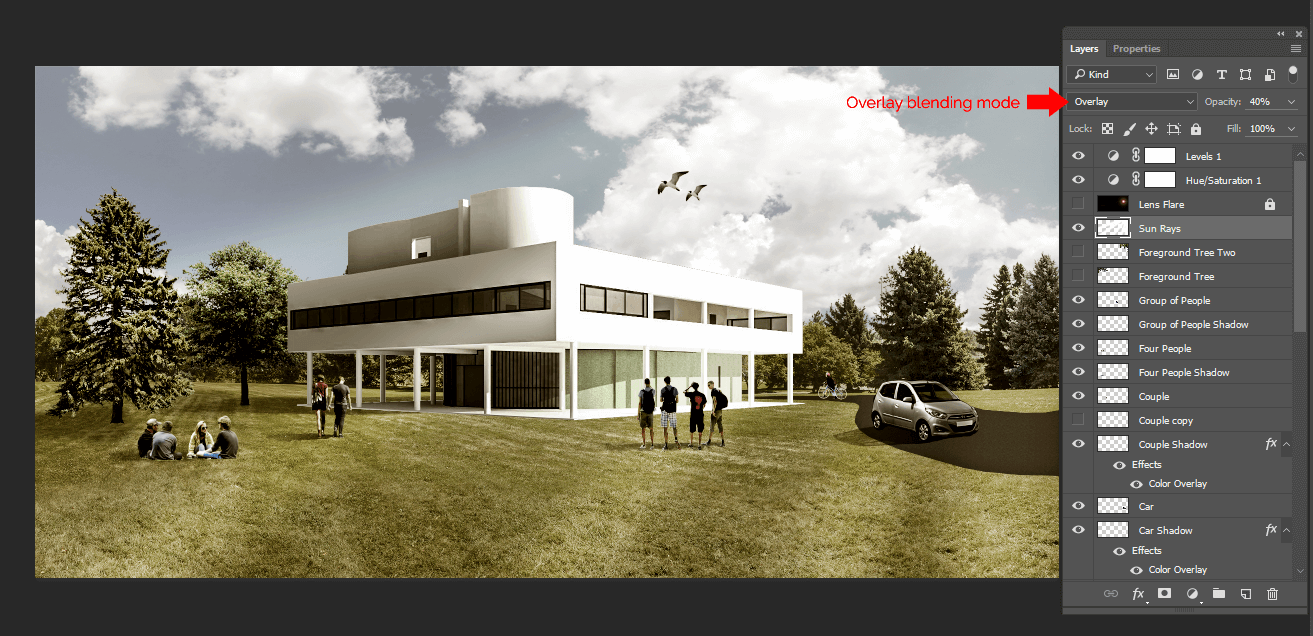
Change the blending mode to overlay and opacity to 40%.
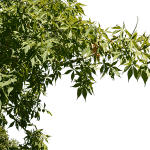
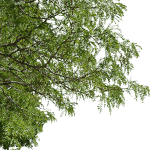
Step 11: Add foreground trees
![]()
Drop in our foreground trees, layer them just below the adjustment layers. That’s it!!
Textures used in this tutorial: